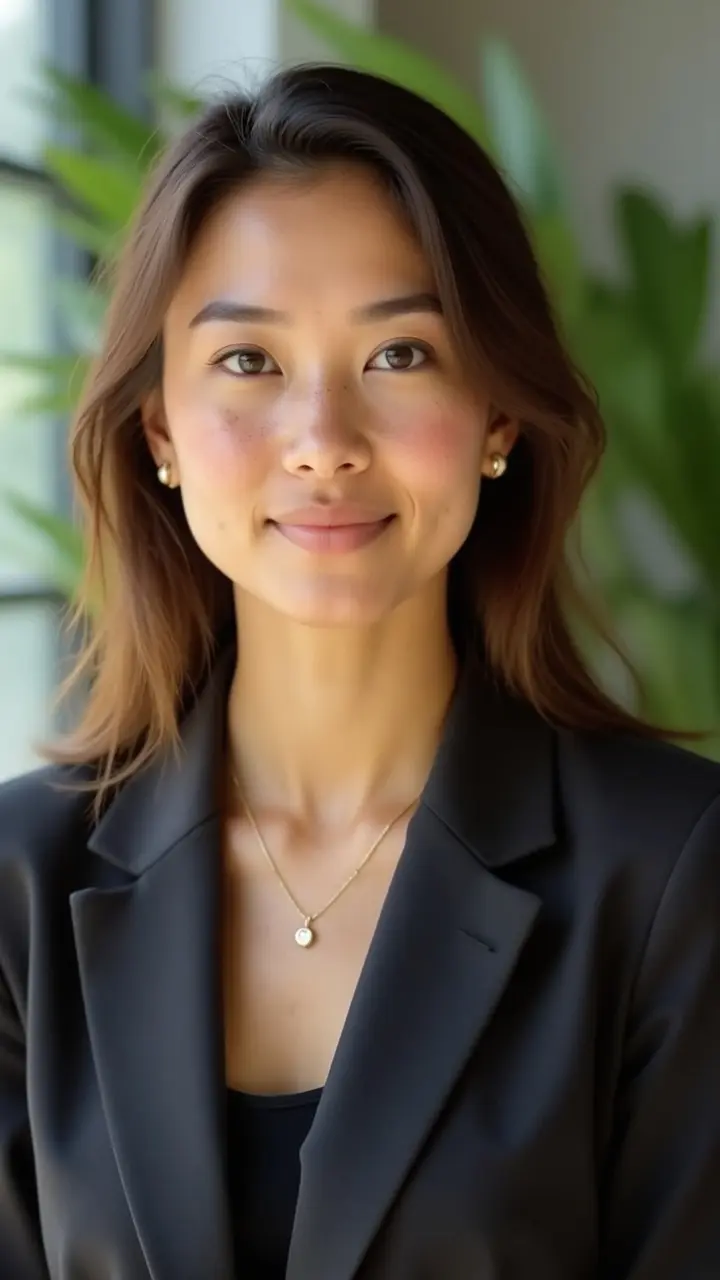
How to Take Professional Headshots at Home (That Actually Look Professional)
Booking a professional headshot session costs between $150 and $300 for a standard studio shoot, and that's before factoring in retouching fees, hair and makeup, or the scheduling overhead. In cities like New York, the average jumps to $924. For many professionals, that's a hard sell for a single photo.
The good news: a phone camera and a window can produce a headshot good enough for LinkedIn, a company bio page, or a conference speaker profile - if you control the variables that actually matter. This guide walks through how to take professional headshots at home, step by step, and flags the common mistakes that turn a solid setup into an amateur-looking result.
How to Take Professional Headshots at Home: the Setup
The gap between a phone selfie and a professional headshot isn't equipment - it's setup. Light, background, and framing account for 90% of the difference. Here's how to get each one right.
Step 1: Find a large window and position yourself facing it
Lighting is the single most important variable in portrait photography. Overhead lighting casts unflattering shadows under your eyes and nose. Small lamps create hot spots and color imbalance. A large window with indirect natural light - diffused by cloud cover or a sheer curtain - gives you soft, even illumination that flatters most faces.
Position yourself directly facing the window, not beside it. Facing the window means the light hits your face evenly from the front, which eliminates harsh shadows and produces consistent skin tones. Avoid direct sunlight: it creates overexposed patches and makes you squint. Shoot on an overcast day or pull a sheer curtain across the window to soften bright sun.
If natural light isn't available, use two LED panels or desk lamps placed at 45-degree angles on either side of your face, slightly above eye level. Avoid anything with a strong yellow or orange cast - daylight-balanced bulbs (5500K - 6500K) produce neutral, accurate color.
Step 2: Choose a clean background at least 3 feet behind you
The background of a professional headshot should disappear. Anything patterned, cluttered, or brightly colored competes with your face and signals "this was taken at home."
A plain white, off-white, or light grey wall works well. A solid-colored door or a section of clean painted wall also works. Place yourself at least 3 feet from the wall - this distance creates a slight natural blur (bokeh) on the background even without portrait mode, and it prevents your shadow from falling onto the wall behind you.
If your apartment doesn't have a suitable wall, a blank curtain or a paper roll backdrop (available for under $30) solves the problem.
Step 3: Use the rear camera, mounted at eye level
The rear camera on any smartphone made after 2022 shoots at 12 megapixels or above with optics meaningfully better than the front-facing selfie camera. Use it with a tripod and a self-timer (or a Bluetooth remote shutter), not as a handheld selfie.
Mount the phone at eye level - not below your chin, which exaggerates the jaw and makes the photo look like a mugshot. Eye level creates the same perspective a photographer would use.
Set the focus by tapping and holding on your face on screen. This locks both focus and exposure on the most important part of the image. If your phone has a portrait mode, use it - it applies background blur and slight depth-of-field effects that read as "studio shot" even in a home setting.
Step 4: Wear solid colors in professional tones
Clothing adds context before anyone reads your name. Patterns, logos, and busy prints distract. Solid colors in professional tones - navy, charcoal, grey, white, muted jewel tones - keep the attention on your face and age well across platforms.
Dress one level above your daily norm. If you typically wear a t-shirt, shoot in a shirt or light sweater. If your field is formal, a blazer reads well even if you never wear one in the office. The goal is "polished," not "costume."
Avoid colors that closely match your background: if your wall is white, a white shirt makes you blend into it.
Step 5: Frame the shot from chest up
A professional headshot frames from the chest or upper torso up, with the face filling 60 - 70% of the frame. Include your shoulders - cutting at the neck looks awkward and cropped.
For LinkedIn specifically, your face should fill most of the circular frame, which means shooting tighter than you think you need to. LinkedIn displays profile photos at around 400×400 pixels, so low-resolution or wide shots lose detail when compressed.
Take at least 20 - 30 frames in one session. Vary your head angle slightly, try one or two different expressions, and change your shoulder position. You're not looking for perfection in every shot - you're creating enough material that three or four frames are genuinely good.
Step 6: Review and select on a large screen
Review your photos on a laptop or desktop monitor, not on the phone. Small screens mask issues that become visible at full size: soft focus, unflattering expression, slight motion blur.
Look for: sharp focus on the eyes, even lighting on both sides of the face, a natural expression, and no distracting elements in the background. The photo you pick should look like you on a good day - not like a posed stranger, and not like an unflattering candid.
Basic editing (exposure adjustment, white balance correction, a small crop) is acceptable and expected. Heavy retouching that changes your facial structure or skin color is not.
Common Questions
Does my phone camera produce good enough quality?
Yes - for any non-commercial use. LinkedIn, company bios, email signatures, conference speaker pages, and most corporate contexts are viewed at small sizes on screen. The cameras on modern iPhones, Pixels, and Galaxy phones shoot at resolutions higher than any of those contexts require. The bottleneck is setup, not hardware.
Can I use a selfie for my LinkedIn photo?
Technically yes. In practice, selfies are taken with the lower-quality front camera, often at arm's length, often with poor lighting, and rarely at a flattering angle. LinkedIn's own data shows profiles with professional photos receive 21 times more views and 36 times more messages than profiles without photos - but the research doesn't distinguish between phone-shot headshots with good setup and professionally shot ones. What it measures is the quality of the result, not the equipment used to produce it.
What if my apartment has no good background wall?
Options in order of effort: (1) rearrange furniture to expose a clean section of wall, (2) hang a solid-colored sheet or light curtain, (3) buy a paper backdrop roll ($25 - $40 on Amazon) and tape it to the wall. A clean door in a hallway also works if the wall behind it is plain.
How often should I update my headshot?
Every 3 - 5 years is a reasonable baseline, or sooner if your appearance changes significantly (new haircut, weight change, age). Using a photo more than 10 years old can create an awkward first impression when you meet someone in person who recognizes you from your profile.
Do I need a separate camera or a ring light?
No. A ring light can actually produce an unnatural circular reflection in the eyes that signals "this was shot at home with a ring light." A well-positioned window outperforms most consumer lighting equipment for portraits. A tripod ($15 - $25) is genuinely useful - shooting hands-free lets you take more natural expressions than a handheld setup.
When to Skip the DIY Process Entirely
The DIY process above takes a few hours once you account for setup, shooting, and selecting. The result depends heavily on your apartment, your available light, and whether you happen to have a suitable wall.
If you need multiple headshots across different styles (professional, creative, casual), or if you want consistent results across a whole team, photographe.ai generates studio-quality headshots from 3 - 6 selfies you upload at home. You select styles, upload your photos, and receive a set of polished portraits without managing lighting or backgrounds yourself. The output covers different clothing styles and backgrounds, which is difficult to replicate with a single DIY session.
This is the right choice when: you need more than one or two looks, your apartment doesn't have usable natural light, or the time cost of a DIY session isn't worth the result. For more on what the AI process looks like compared to a photographer session, see AI vs. Traditional Photography: Cost, Quality & Time Comparison.
If you do shoot your own photos first and want to use them as a starting point, the quality of your source photos affects the AI output directly - sharper, better-lit selfies produce better headshots. How to Get AI Portraits That Actually Look Like You covers what makes a good source photo for AI generation. If the photo is specifically for LinkedIn, our guide on getting a professional LinkedIn photo covers the platform's exact specs and how to choose between a photographer, DIY, and AI.
References & Further Reading